Getting started: Your first indoor tomato in 30 minutes
A calm, complete walkthrough of your first two weeks growing tomatoes, chilies or herbs indoors — what to do, what to skip, and what's normal even when it looks alarming.
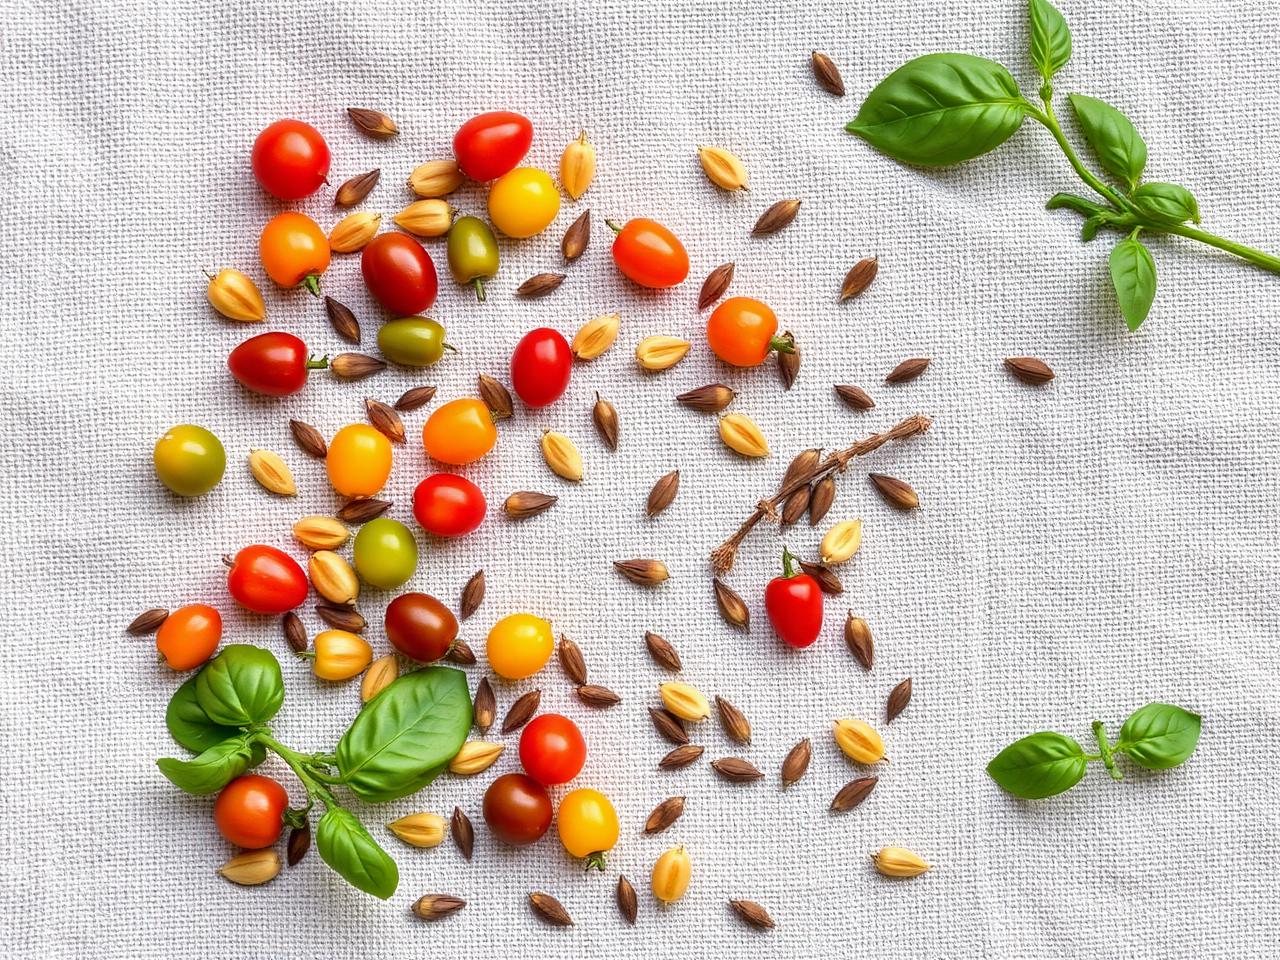
Growing your own tomatoes, chilies and herbs indoors sounds intimidating, but if you've picked a sensible starter kit, the process is closer to assembling a piece of furniture than running a science experiment. The plant does most of the work. Your job is to give it a stable home and then mostly leave it alone.
This guide walks you through the first 14 days — from unboxing to your first true leaves on a tomato or basil seedling. We'll keep it short on theory and long on what to actually do, in the order to do it.
What you'll need before the seed arrives
Have these ready on day one
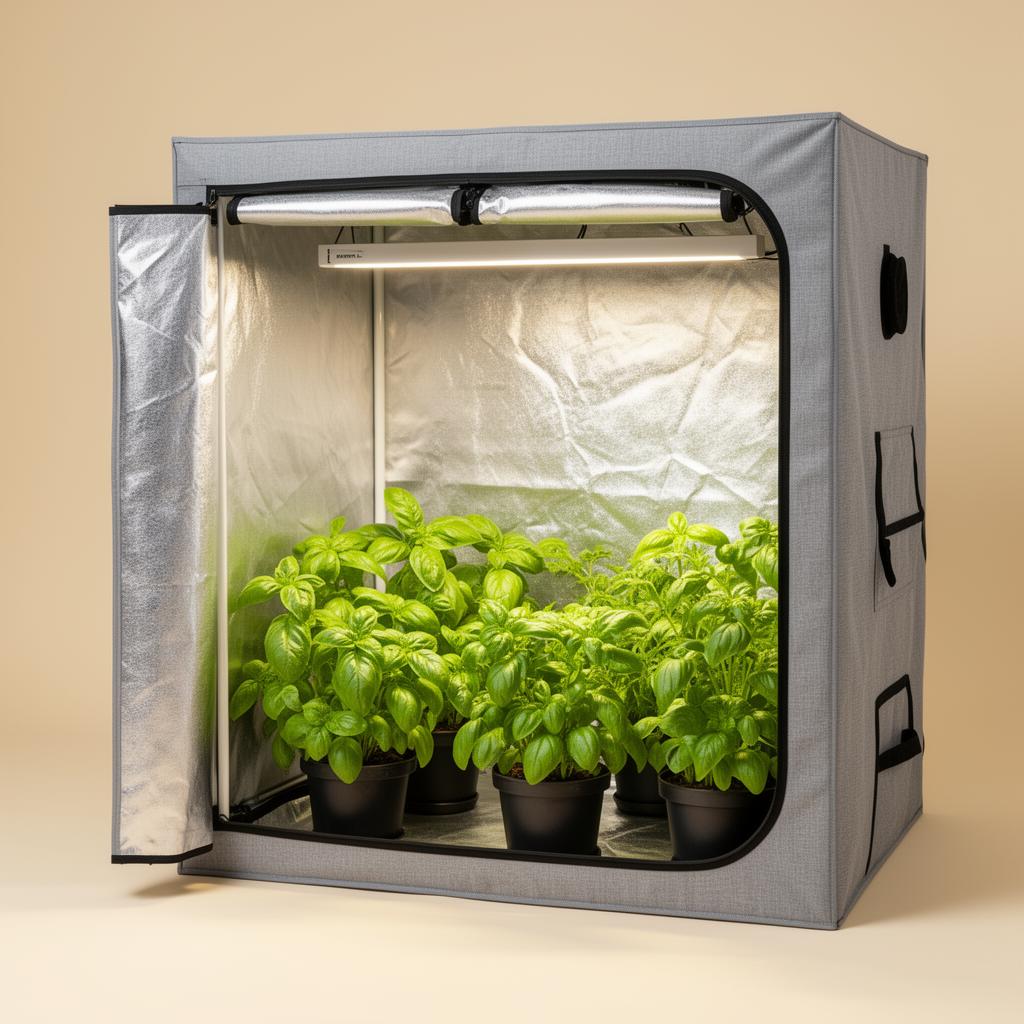
- A grow tent assembled and stable in its final spot
- A full-spectrum LED light, hung and on a timer
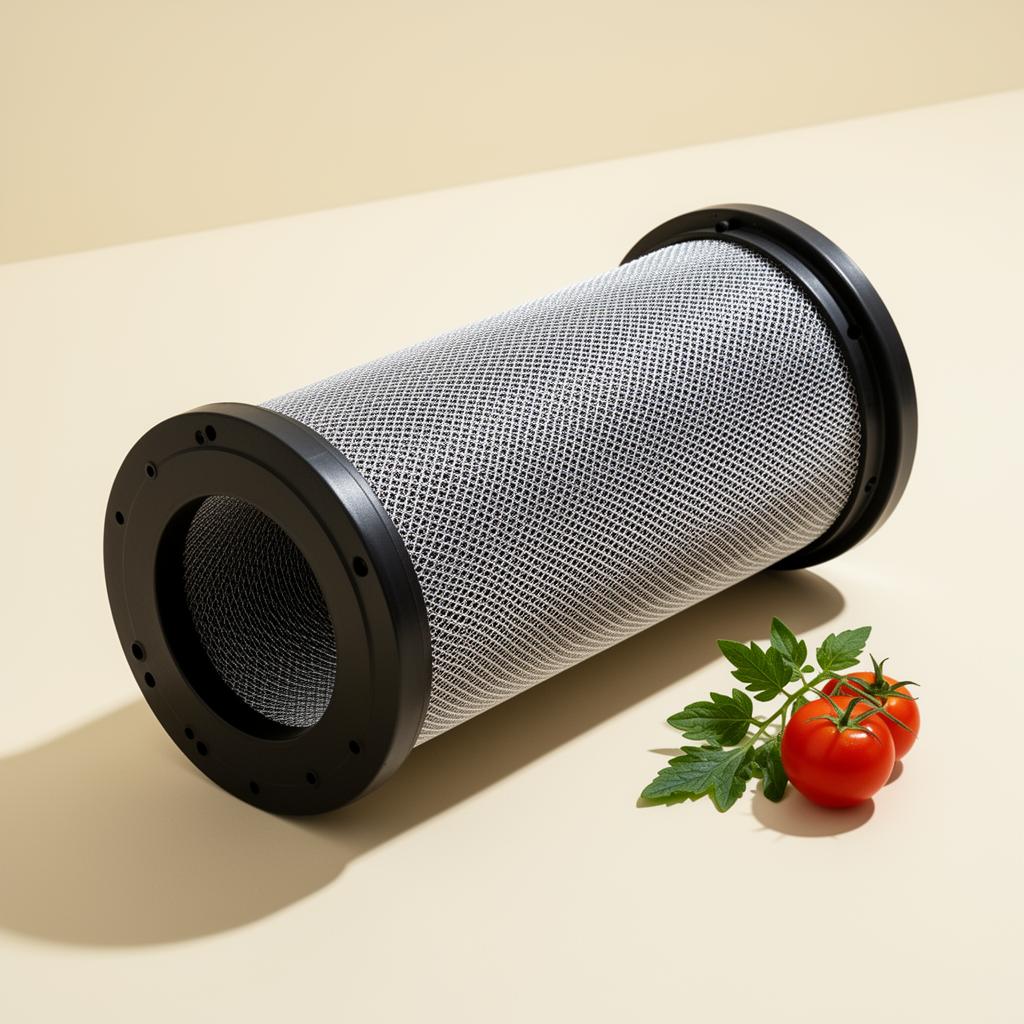
- An inline fan and carbon filter, running 24/7
- Light, airy soil (e.g. Bio-Bizz Light-Mix) in a 7–11 L fabric pot
- A small watering can with a fine rose, plus filtered or tap water (left to stand 24 h)
- A cheap thermo-hygrometer — temperature and humidity matter more than fancy meters
Day 0 — Set everything up without a plant
We recommend assembling your tent and hanging your light one full evening before the seedling arrives — completely empty. It gives you a calm sense of how things work before a living plant depends on you.
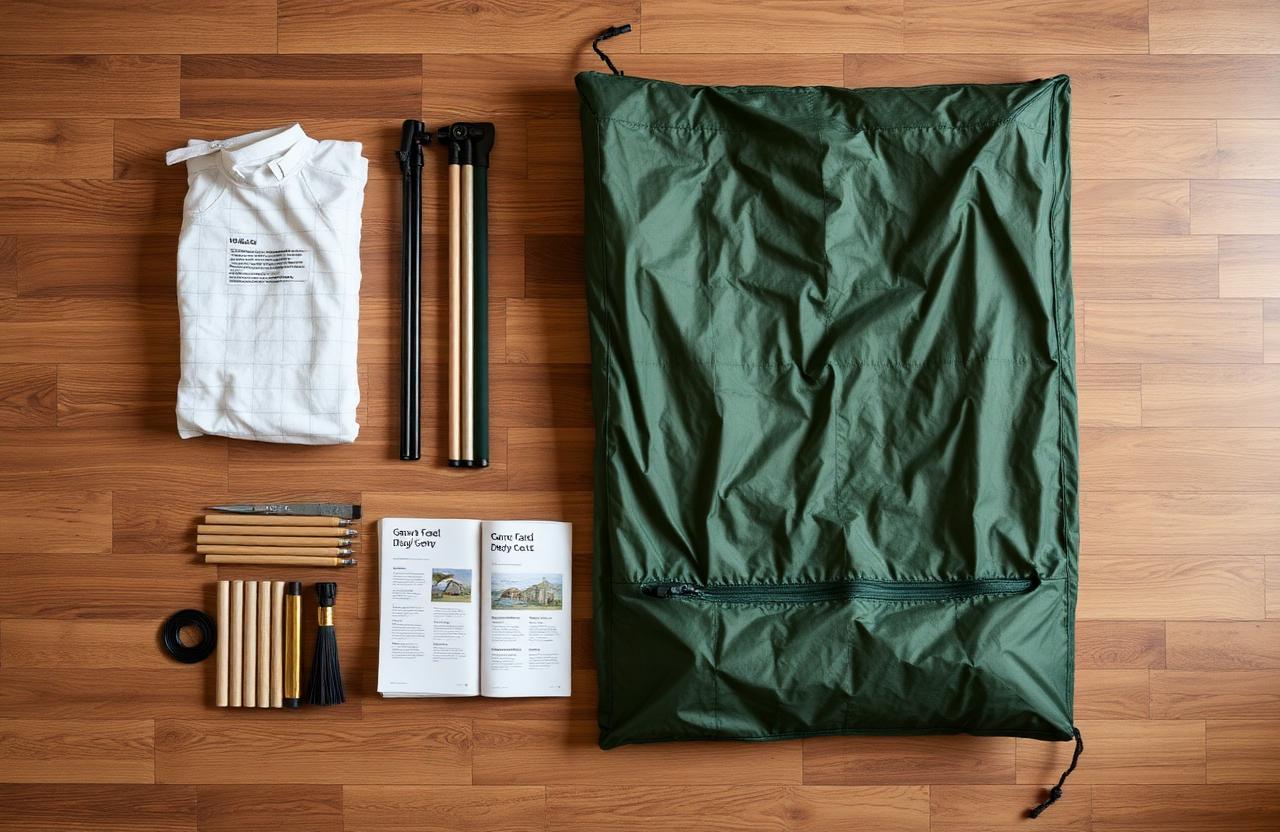
Plug everything in: light, fan, carbon filter, timer. Run it for an hour. Listen for noises, watch the temperature creep up, make sure the timer fires correctly. Fix the small things now while you have time and patience.
Day 1 — Plant
Pre-soak your tomato or chili seed in a glass of room-temperature water for 12–18 hours, until it sinks. Move it to a damp paper towel between two plates and check every 12 hours. When you see a small white root tip emerge — usually after 24 to 72 hours — it's time to plant. Basil and lettuce can be sown directly into damp soil without pre-soaking.
- Fill your fabric pot with light-mix soil and water it once until it drains slightly.
- Make a 0.5–1 cm deep hole with a pencil. Place the seed root-down. Cover gently — never press.
- Mist the surface. Don't drench it. Then turn the lights on at 16 hours per day.
- Place the pot in the tent, slightly off-center, away from the direct draft of the fan.
Days 2–7 — The seedling stage
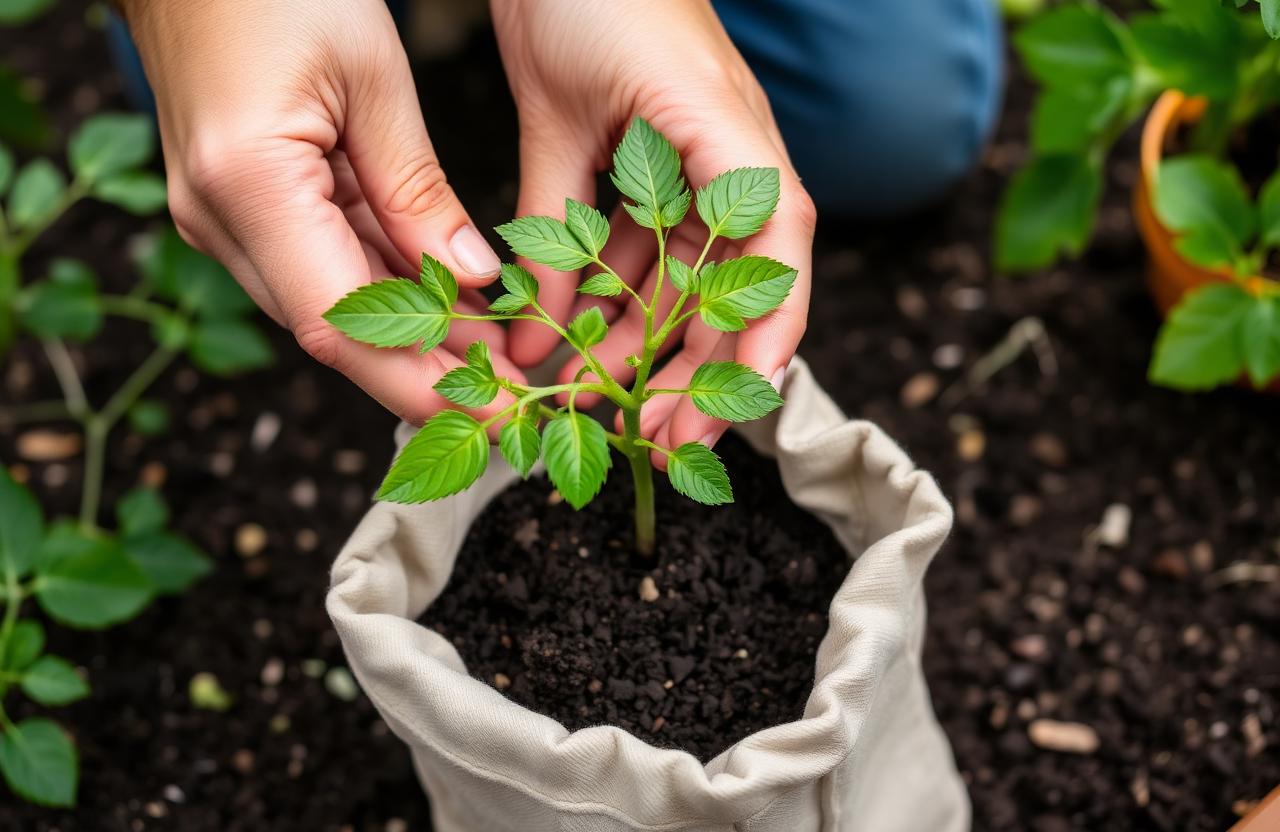
Within 3–5 days you should see two round cotyledon leaves push through the soil, followed by the first set of jagged 'true' leaves. This stage is fragile but undramatic: your only job is to keep the surface lightly moist and the air gently moving.
Keep the LED at around 50–60 cm above the soil for the first week, even if the manufacturer says you can go closer. A seedling can't use that much light yet, and a fixture too close will bleach the new leaves before you notice.
Days 8–14 — Settling in
By the end of the second week your plant should have 2–3 sets of true leaves and a noticeable upright stem. The roots are exploring the pot. This is the moment to start thinking about light height and not much else.
16 h on / 8 h off
Light schedule
22–26 °C
Temperature
55–65 %
Humidity
40–50 cm
Distance from light
What's normal — and what's not
- Slight yellowing on the very bottom round leaves (cotyledons): normal.
- Slow first week of visible growth: normal — the plant is building roots.
- Crispy edges or a drooping stem: usually too much water. Let the soil dry a day.
- Pale or curling top leaves: the light is probably too close. Raise it 10 cm.
- Stretched, thin stem with big gaps between leaves: not enough light. Lower the fixture.
What comes next
Around day 14–21 your plant enters its true vegetative stage. Growth speeds up dramatically, water needs increase, and you can introduce a mild grow nutrient at half-strength. Read our watering & feeding guide before you start mixing anything into your water.
But that's the next chapter. For now: 16 hours of light, gentle moisture, steady temperature. If everything looks roughly green and roughly upright, you're doing it right. Step away and check again tomorrow.
Picked to match this guide
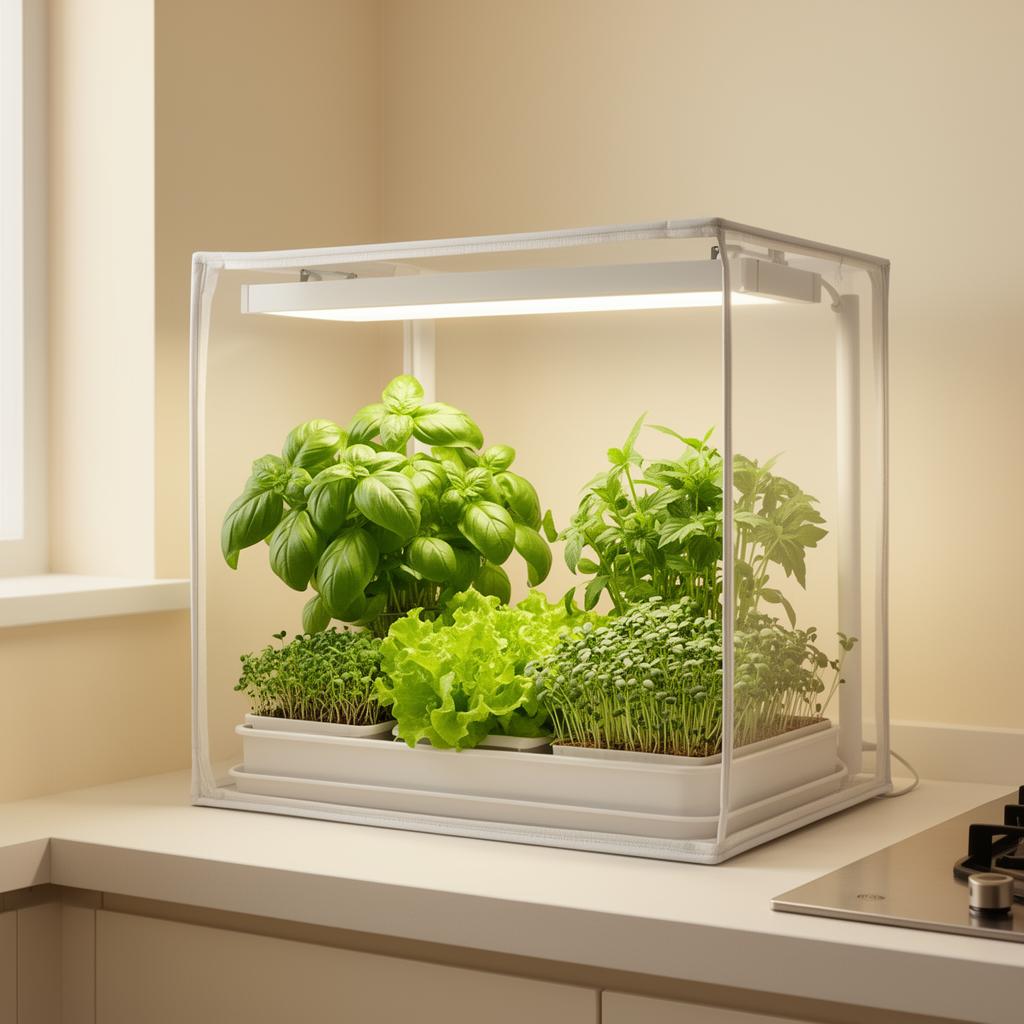
Verdegrowz Selection
Herb Garden Kit 60×60 — Basil & Greens
A pre-matched starter set for fresh herbs and salad greens — running in 30 minutes.
Homebox
Homebox Ambient Q60
Compact 60×60 — perfect for a kitchen herb garden or a first-time indoor grower.
Prima Klima
Prima Klima Eco Carbon Filter 470m³/h
Lightweight activated-carbon filter — keeps your kitchen smelling neutral.