Setting up your indoor herb tent: a step-by-step
From flat-pack box to plant-ready in about 45 minutes. Here's the order of operations that avoids every rookie mistake we've ever seen.
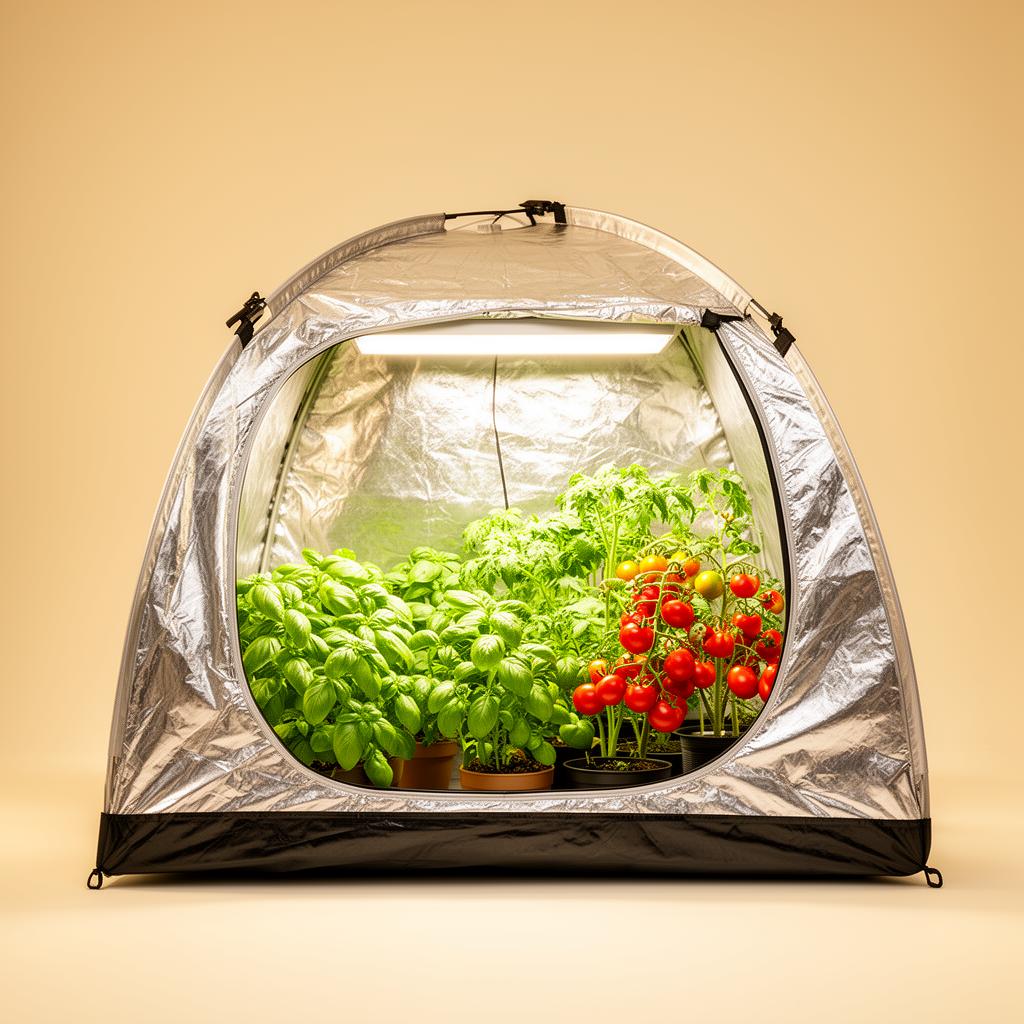
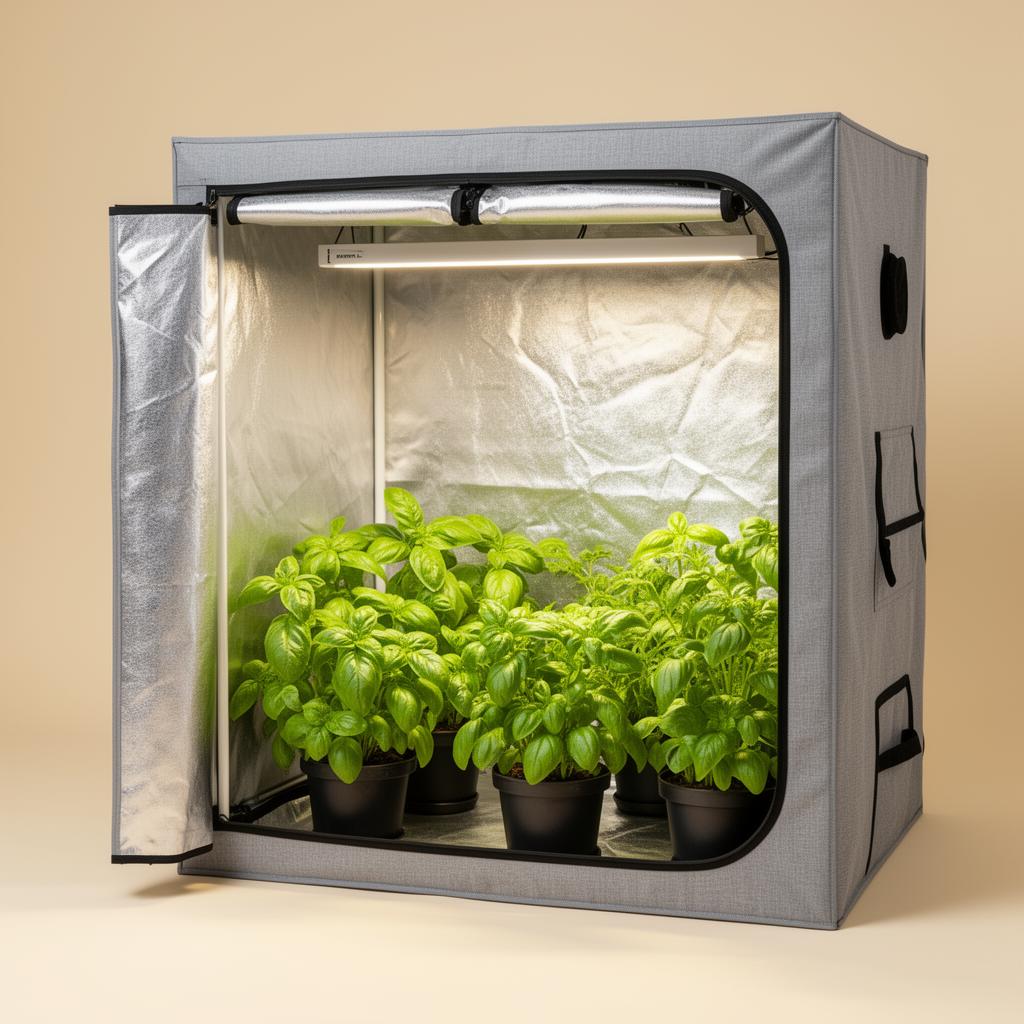
A grow tent isn't complicated, but the order in which you assemble it matters enormously. Done in the right order, it takes 45 calm minutes and leaves you with a clean, professional setup. Done the wrong way, it's an afternoon of swearing and ends with you wrestling fabric over a half-hung light.
We've watched a lot of people do this. The list below is the exact order we wish we'd known on our first build.
1. Pick the spot first
A good location has all of these
- A flat, level surface (a slightly tilted tent stresses the frame and leaks light)
- Room temperature between 16 and 24 °C in the coldest and hottest months
- Access to a power outlet — ideally one you control with a timer
- A way to vent warm air out: a window, a ceiling vent, or another room
- Some acoustic isolation from where you sleep (fans hum, even quiet ones)
2. Build the frame first, fabric second
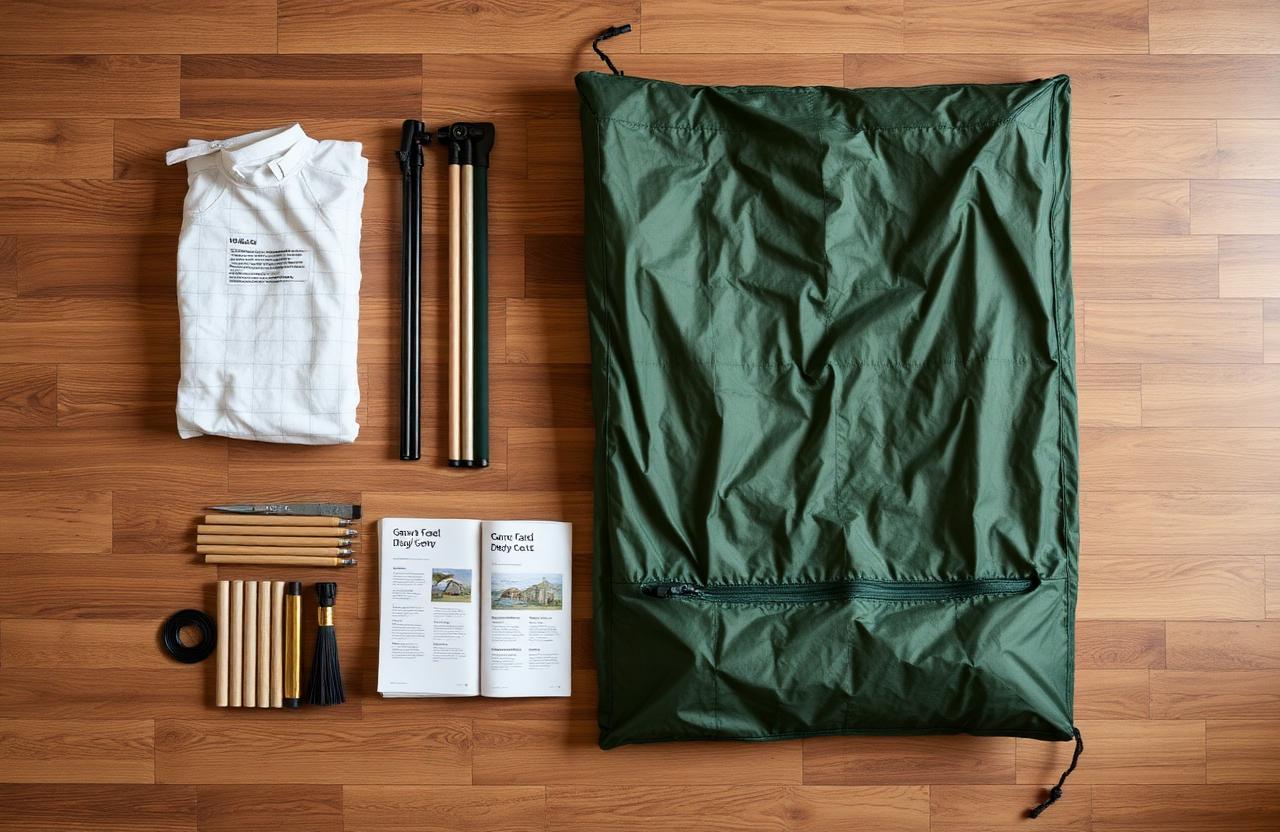
Lay every metal pole and connector out on the floor and identify the corners. Build the bottom rectangle first, then the four uprights, then the top rectangle. Once the skeleton stands on its own, slip the fabric cover over it from the top down like a t-shirt.
3. Hang the filter and fan at the top
Inside the tent, the order of components from top to bottom is always the same: carbon filter → short length of ducting → extraction fan → exhaust port at the top corner. Hot air rises, and you want to pull it out from the highest point.
- Use the rope ratchets that come with the tent — they make height adjustments effortless later.
- The filter sits at the highest point so it captures the warmest, smelliest air first.
- Keep the ducting between filter and fan as short and straight as possible. Every bend costs airflow.
- Seal duct connections with the included steel clamps. Foil tape alone will work loose over time.
4. Hang the light below the filter
The light goes 40–50 cm below the filter, suspended on its own pair of rope ratchets. Make sure all power cables exit the tent through one of the bottom ports — never draped over the edge or pinched in the door zip. A cable rubbing against the door zip will eventually cut its insulation. That's how tent fires start.
5. Add the small fan and the timer
Clip a small oscillating fan to one of the upper poles, pointing across the canopy — not directly at it. Plug your light into a digital timer set to 18 hours on, 6 hours off. Plug the extraction fan into a separate outlet (or its own EC controller) so it runs continuously, day and night.
6. The smell test and the heat test
Before you ever put a plant inside, run the entire setup for one full hour with the door zipped shut. Then open the door and walk away for thirty seconds. When you come back, the tent should smell like nothing — fresh fabric and a hint of warm electronics. If it smells of anything else, your seal isn't right.
22–26 °C
Target temperature, lights on
18–22 °C
Target temperature, lights off
60–70 %
Target humidity, seedling
50–60 %
Target humidity, fruiting
You're ready
If the tent is stable, the air is moving, the temperature holds, and it smells like nothing — congratulations, your hardware is done. Now read the watering & feeding guide and the LED wattage guide before your seedlings arrive, and you'll be ahead of 90% of first-time indoor gardeners.
Picked to match this guide
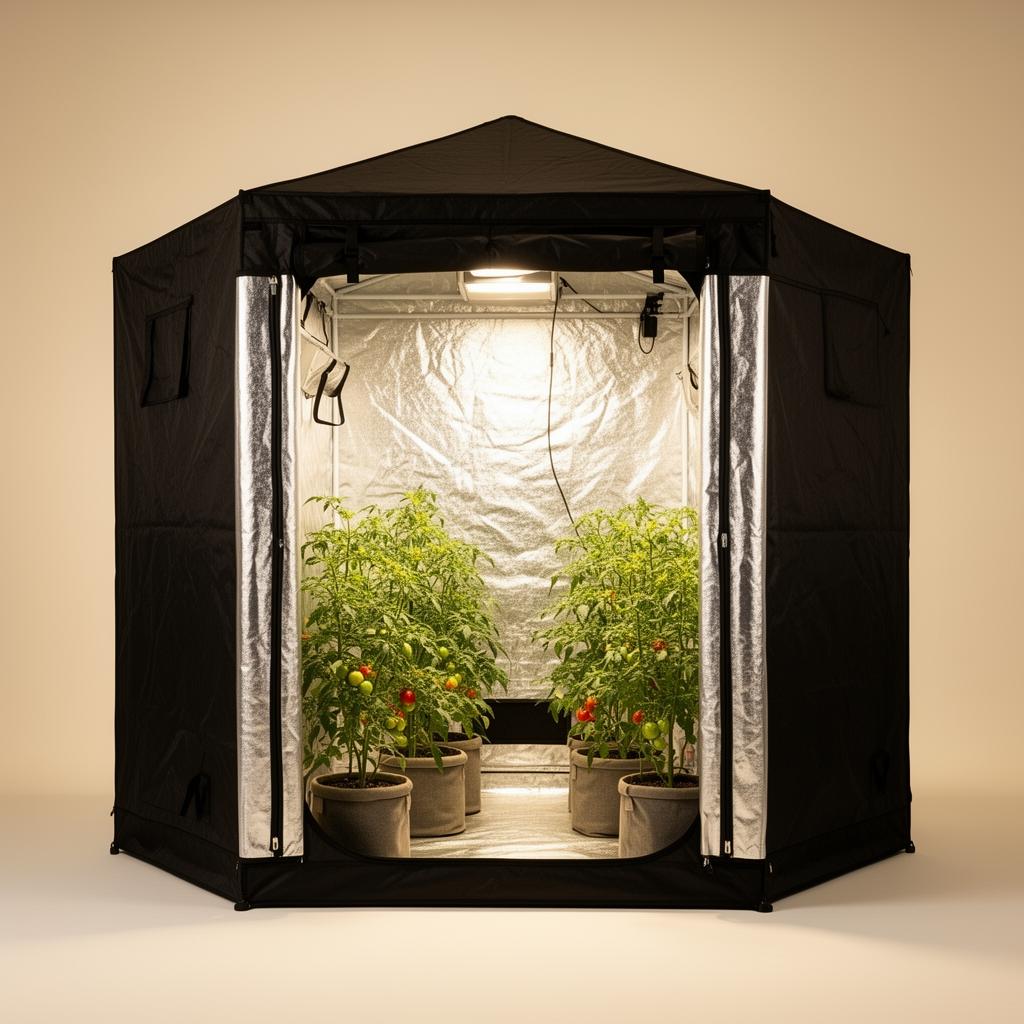
Secret Jardin
Secret Jardin Indoor Tent DR120
A 120×120 reference tent — heavy-duty zips and Mylar 95% reflective interior.
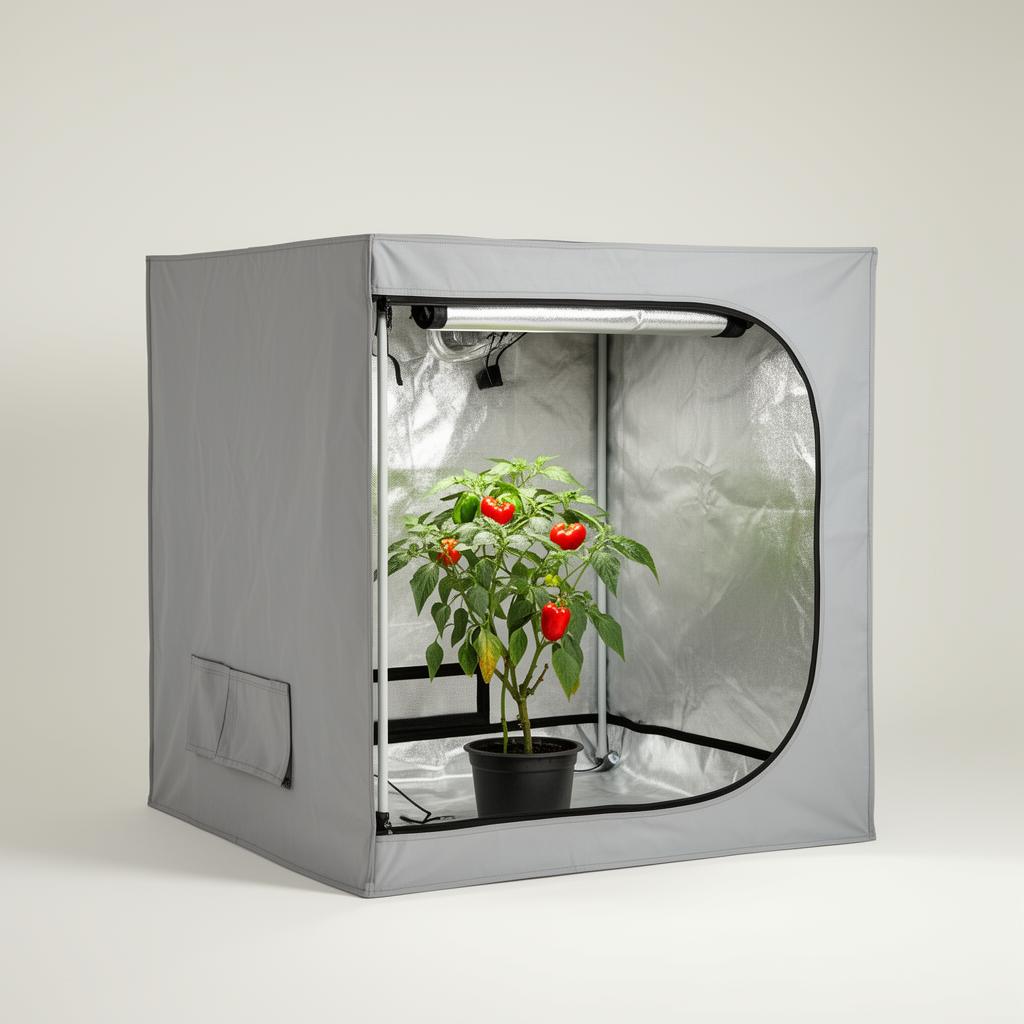
Homebox
Homebox Ambient Q80+
The classic Q80 — taller frame for trellising tomatoes and bigger pepper plants.
Homebox
Homebox Ambient Q60
Compact 60×60 — perfect for a kitchen herb garden or a first-time indoor grower.